Homemade Whipped Cream

Master the art of making homemade whipped cream with this detailed guide. Many people struggle with natural whipped cream, but with the right technique, you’ll achieve perfect results every time. Follow these steps for a light, fluffy, and delicious whipped cream, ideal for cakes or desserts.
Choose a high-quality cream with 30–32% fat content.
Before starting, refrigerate the cream for 6–8 hours to ensure it’s very cold.

Check the cream’s label to ensure it contains no vegetable fats or unnecessary additives.
Opt for natural, animal-based products over processed alternatives.

Prepare your powdered sugar and cold cream.
Pour the cream into a deep bowl with high edges to prevent splashing. Avoid using splash guard bowls as they might impede proper aeration.

Use a mixer for best results. Start mixing the cream at the highest speed without adding sugar initially.

Observe the cream as it begins to foam and increase in volume.

After about 5 minutes, gradually add the powdered sugar while mixing.

Continue mixing as the cream thickens.

Notice how the consistency becomes denser.

Keep mixing until the cream achieves a dense texture.

Once the cream starts to thicken, stop the mixer and perform the consistency test. Lift the mixer blades; the whipped cream should form soft or firm peaks.
At this stage, stop frequently (every 5–10 seconds) to avoid overbeating, which can cause the cream to curdle.

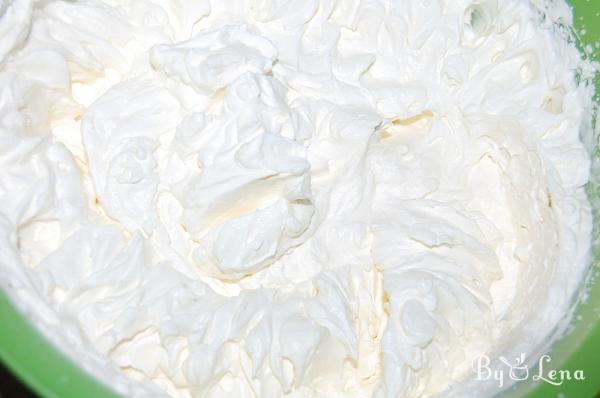
The final product should be light, fluffy, and firm, ready for decorating cakes or using as filling. Enhance it with cocoa, nuts, or other toppings as desired.

For decorating, use a piping bag (made of durable cloth or silicone).
Piping tools from specialized stores, are reliable and easy to use. While silicone bags are convenient, they may crack after extended use.

Enjoy making perfect whipped cream with this guide. Good luck, and happy decorating!